Krea 3 AI Image Generator and Reference Editor
Create a new picture or give an existing image a precise next direction. Krea 3 on Krea3.io connects Berry and Jam to a shared workspace for product photography, character studies and visual design. Choose text or reference editing, review the settings and credits, then inspect the complete Krea 3 result before deciding what to change next.
Image workspace
Sample Image
 1 / 302
Krea 3 source example · Krea.ai
Introduction
What is Krea 3?
Krea 3 is an image generation and editing model developed by Krea. This independent workspace connects its supported text and reference endpoints through fal.
Begin with the actual assignment
Choose Krea 3 when you need to explore an image from words or reinterpret an existing picture. A useful brief identifies the subject and the final use: a product hero, an interior study or a campaign composition.
Understand the two variants
The provider positions Krea 3 Berry around quality and Jam around speed. Both appear in the workspace model picker. Select the variant before preparing the request, and compare it using the same prompt, references and output size.
Keep website accounts separate
Krea3.io supplies its own account, purchase catalog, credit balance and history. Access to Krea 3 here does not transfer a subscription from the official Krea website. The source launch examples illustrate possible tasks; they are not a claim that this independent platform has the same interface, queue or commercial terms.

How to use
How to use Krea 3
- STEP 1
Choose the starting point
Select Krea 3 Berry or Jam. Use text mode for a new scene, or reference mode to edit an uploaded picture.
- STEP 2
Write the visual direction
Describe the subject, the requested change and what stays. Number references so each scene, product or style has a clear role.
- STEP 3
Check settings and credits
Choose the aspect ratio, resolution and reasoning. Review the credit quote, then sign in and submit when the draft is ready.
- STEP 4
Review the completed image
Inspect composition, labels, proportions and surrounding details. Keep the successful version, then request a focused revision for the next creative decision.
Features
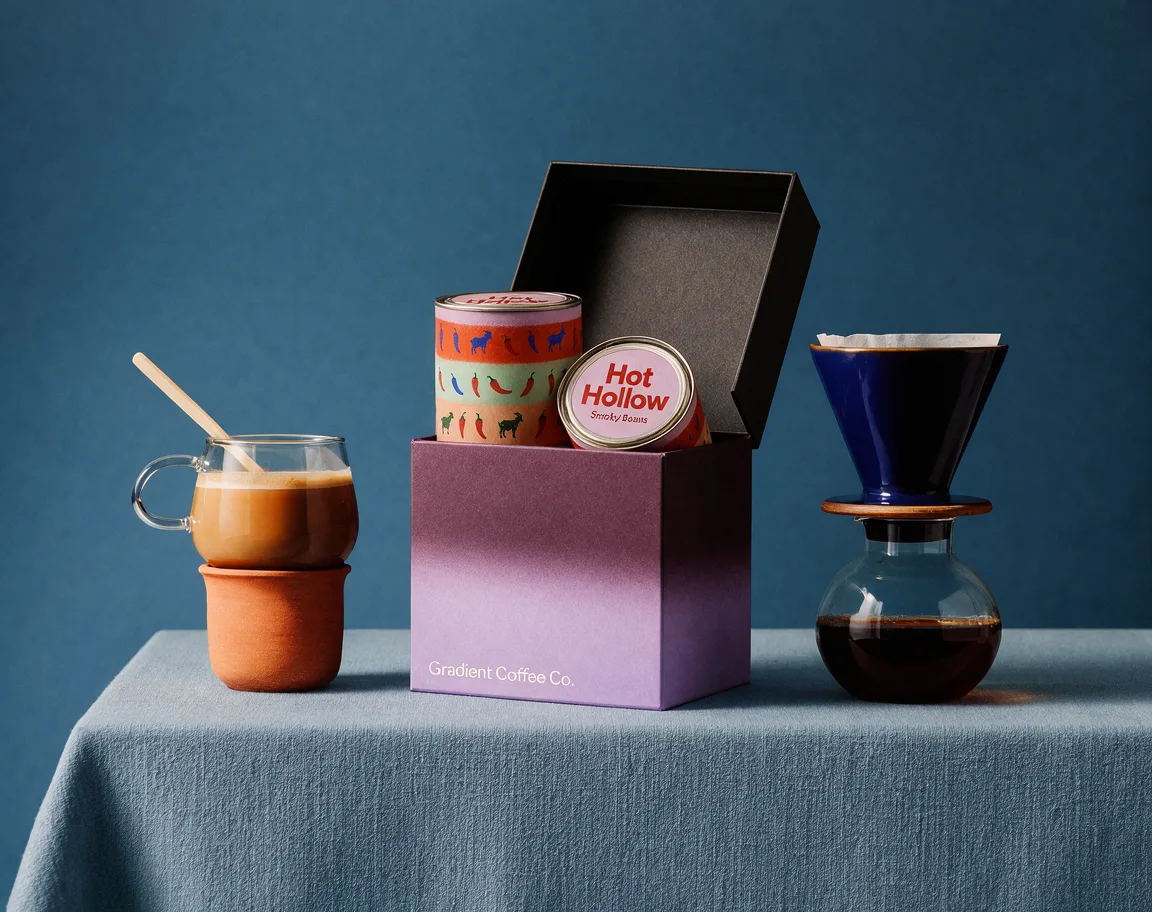
Keep a Krea 3 product recognisable
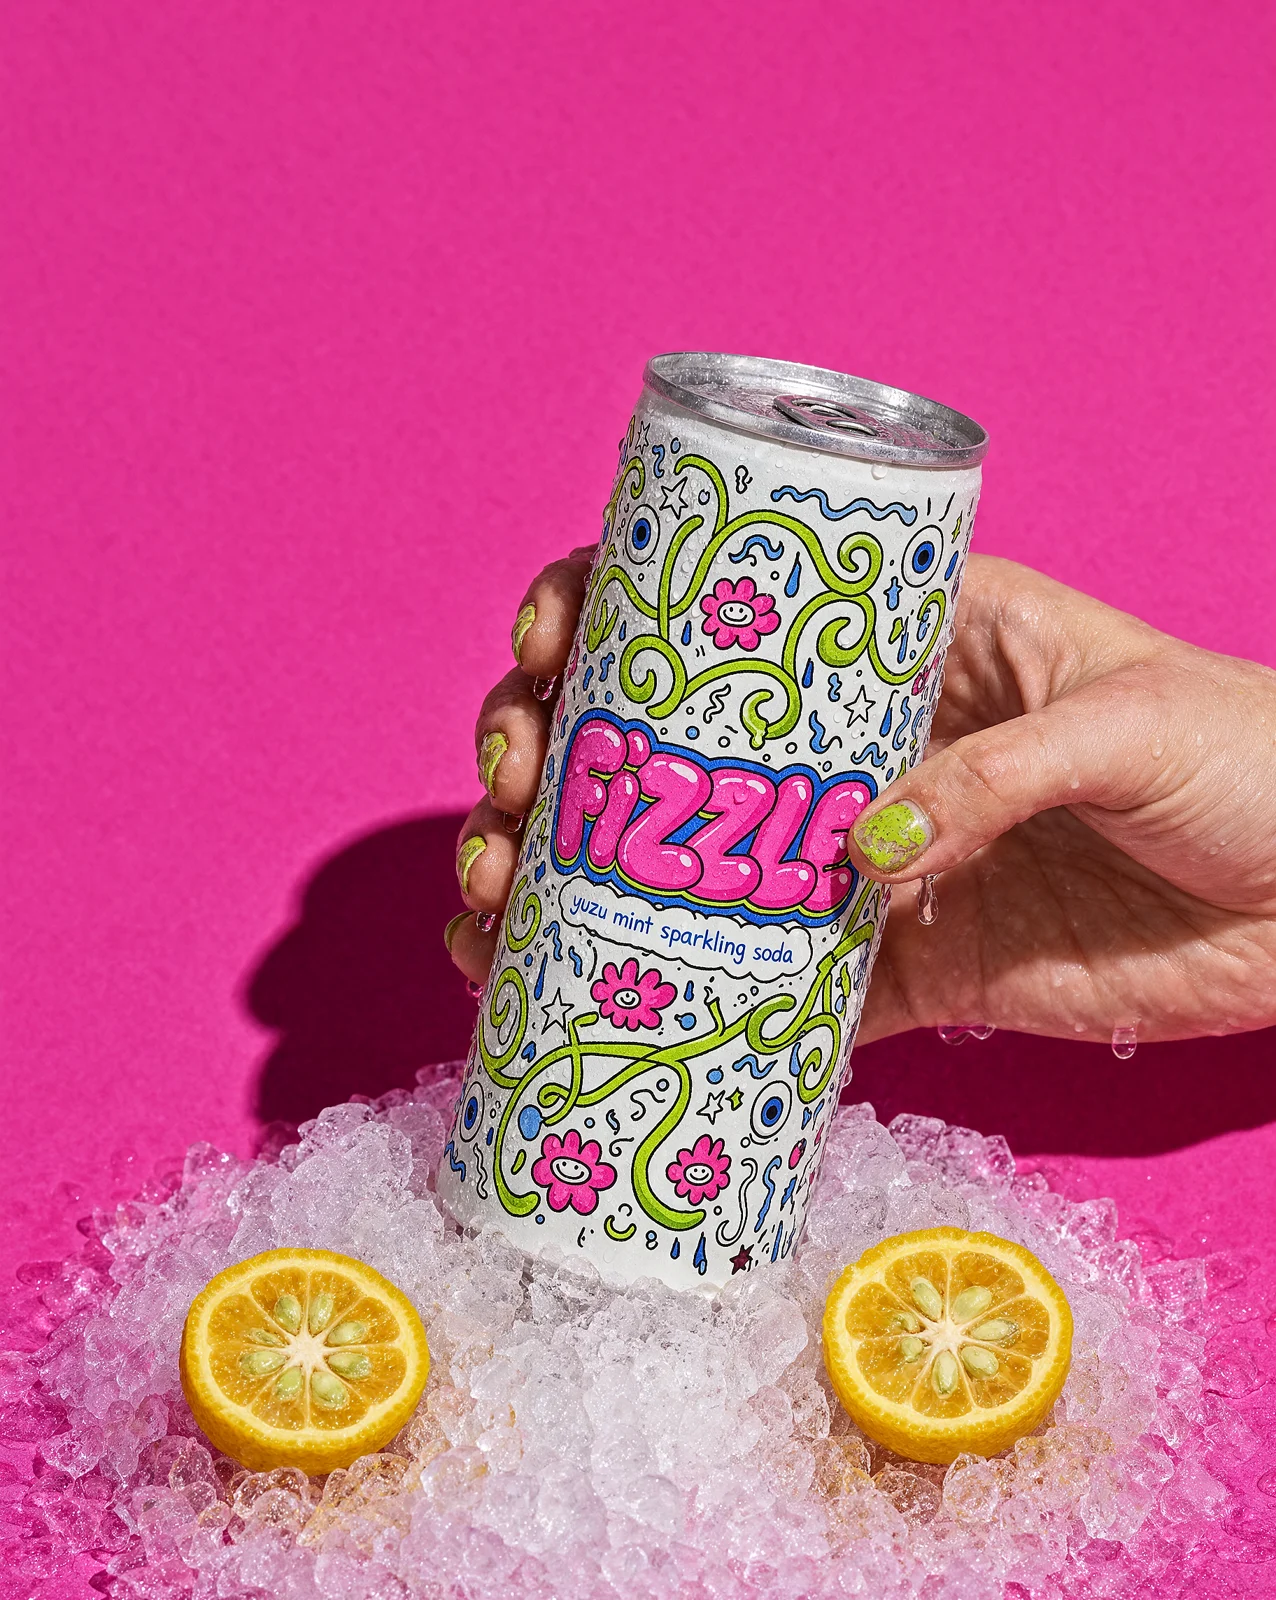
Give Krea 3 a clear product reference, then describe the new environment without asking it to redesign the object.
Start from a clean reference
A useful Krea 3 product input shows the silhouette, important markings and material clearly. Remove unrelated references that could compete with the item you intend to preserve.
Direct the scene around it
Move the product into a hand, onto a table or into a campaign setting. Tell Krea 3 how the light reaches the object, which surface carries its weight and what should appear behind it.
Inspect the business details
Compare the returned Krea 3 image with the product photograph before publishing. Read the label, inspect the closure and check whether reflections imply a different material. A convincing atmosphere can coexist with an incorrect detail. Keep your approved product reference nearby and request a focused revision where the discrepancy matters.
Give Krea 3 a selective editing brief
A Krea 3 instruction should explain what changes and which surrounding features should remain familiar.
Name the exact change
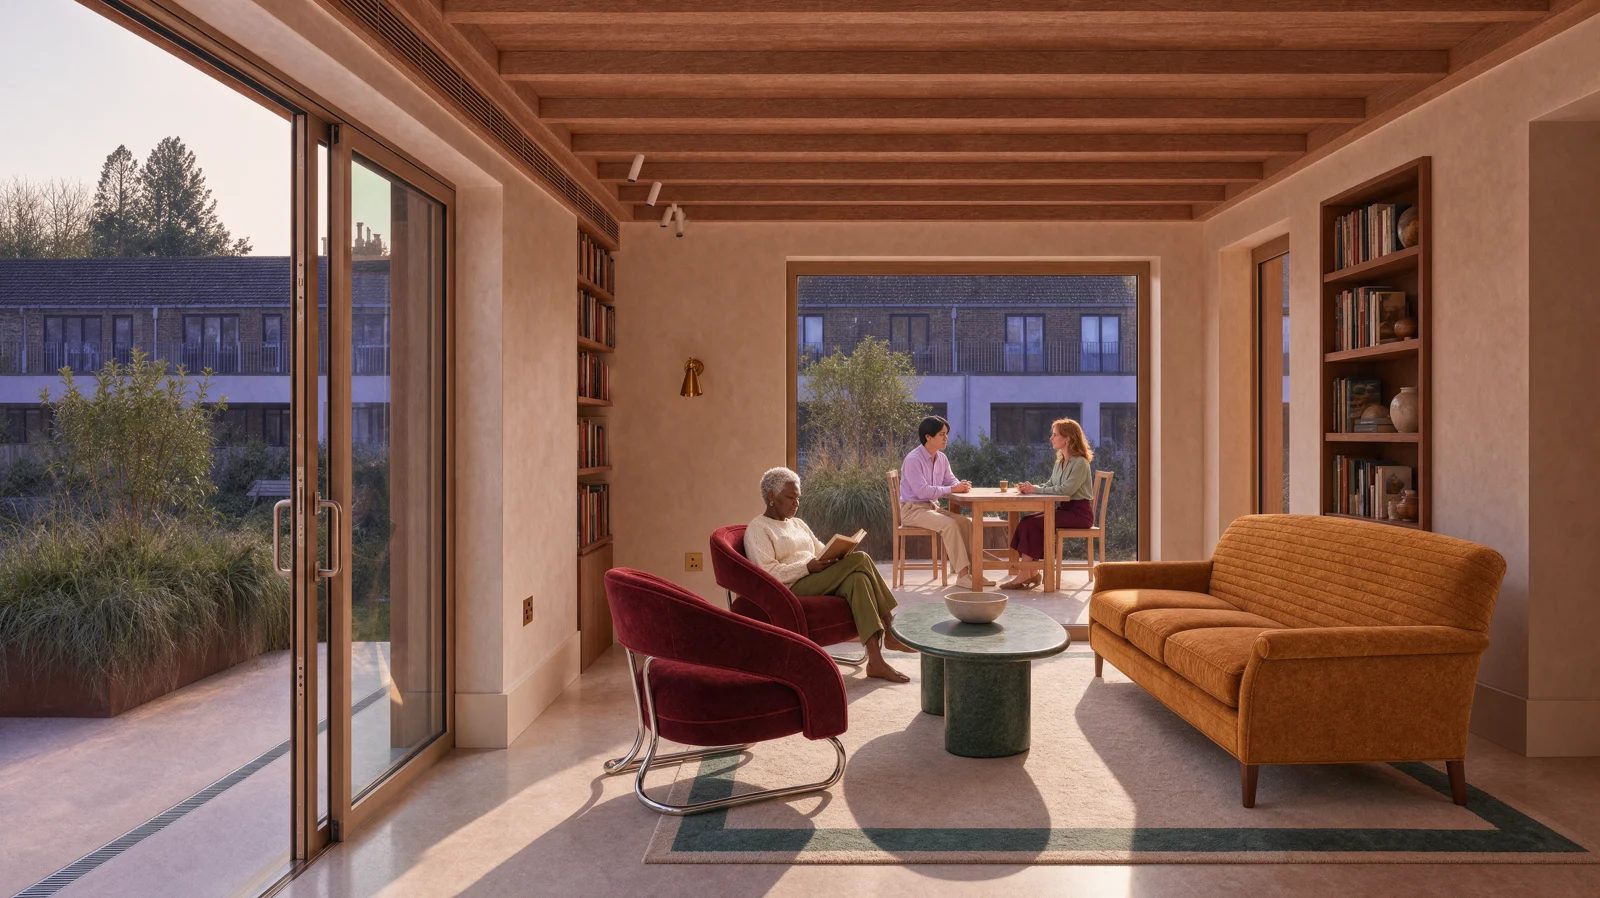
Replace one chair, change a jacket color or remove a distracting prop. Ask Krea 3 for the specific intervention, then identify the camera angle, room structure and people you want retained.
Organise multiple references
The connected Krea 3 edit endpoint supports up to eight images. Number them in the instruction so the scene, product and style have distinct roles. If image one is the room and image two is a sofa, say so explicitly.
Review outside the edited area
After a Krea 3 edit, inspect the entire frame. Look at background lettering, hands, shadows and small objects as well as the requested change. Preservation is a requirement to evaluate, not an automatic guarantee. Save an approved version before trying another direction so a successful composition remains available for comparison.
Explore materials and light with Krea 3
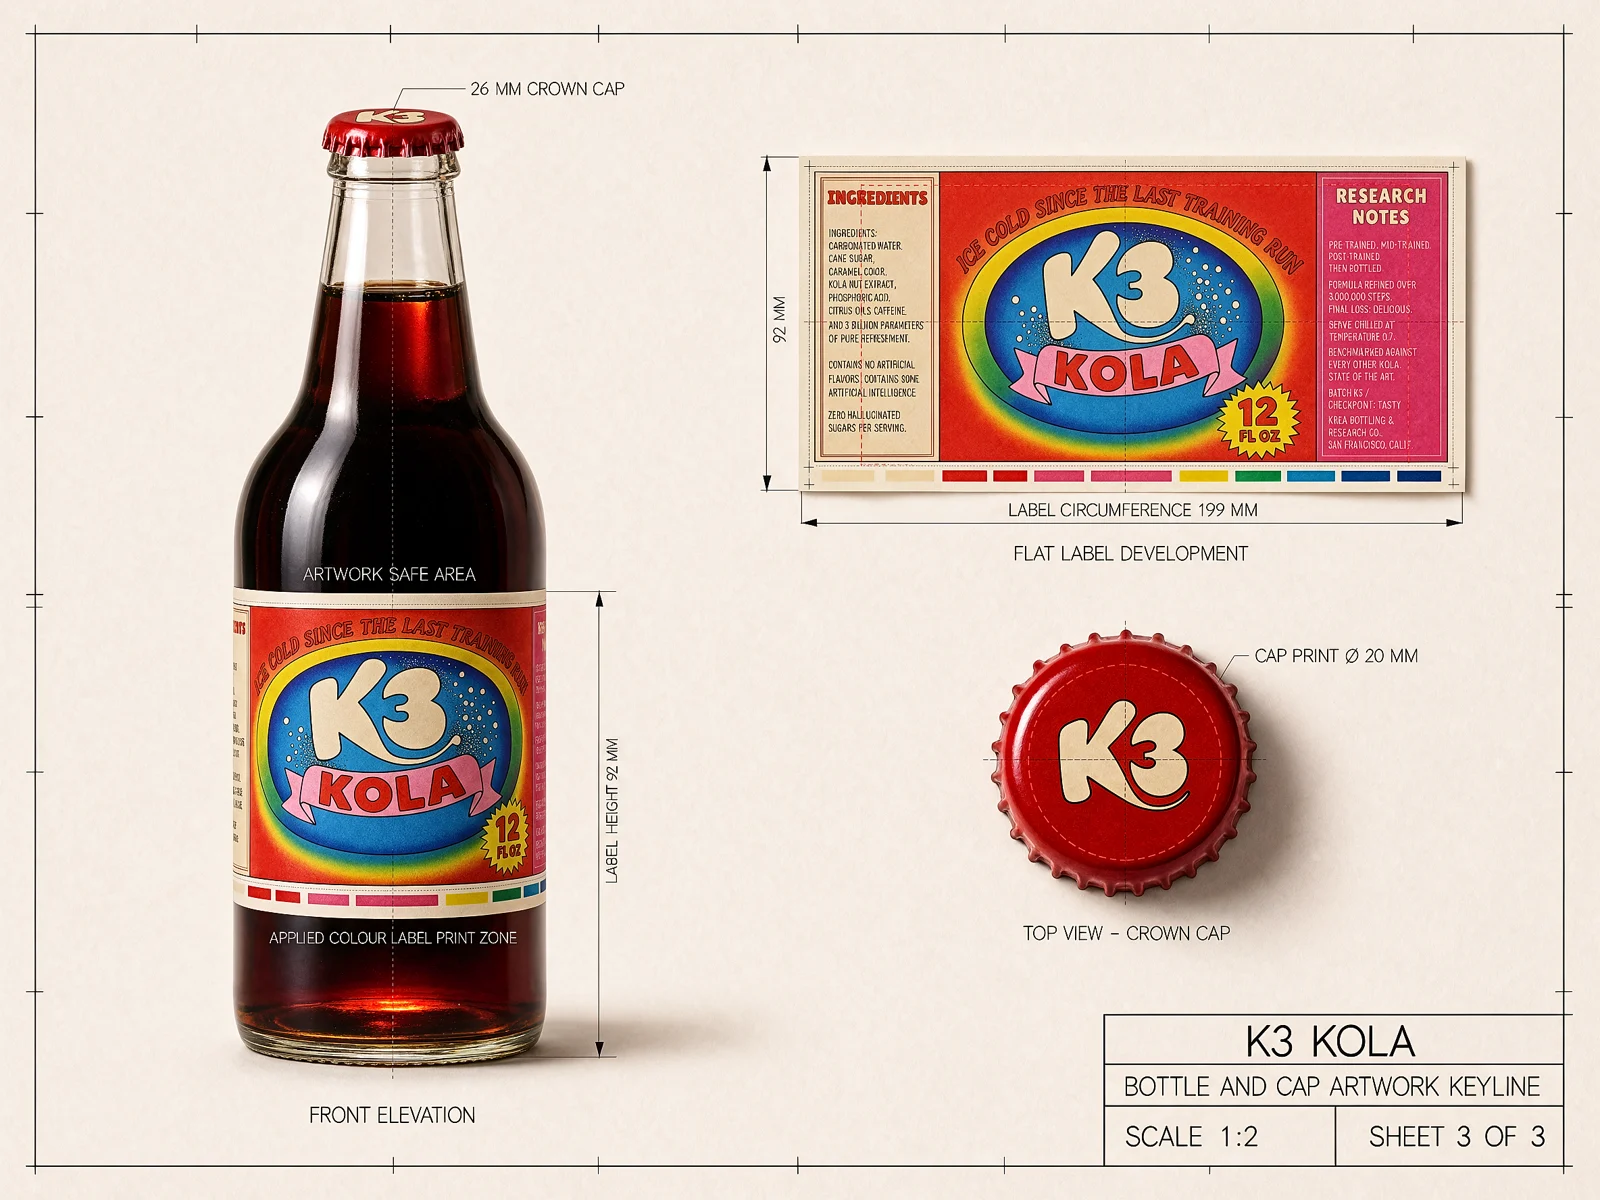
Use Krea 3 to translate a sketch or line drawing into a material study with a defined palette and consistent viewpoint.
Describe visible material behaviour
Wood grain, brushed metal, translucent glass and woven cloth respond to light differently. Give Krea 3 concrete surface directions instead of relying on a general quality label. A soft broad reflection suggests a different finish from a sharp highlight.
Bring a sketch into focus
A sketch already carries shape and arrangement. Ask Krea 3 to preserve that structure while adding the desired material, environment and lighting. Explain whether the result should be photographic, illustrative or diagrammatic.
Use colors as a starting constraint
A hex code can make a Krea 3 palette request more specific. Name the surface that should receive the color and the areas that should remain unchanged. Reflections and lighting can affect its appearance, so compare the output in the intended design context. A written color code does not replace practical visual inspection.
Build Krea 3 character studies
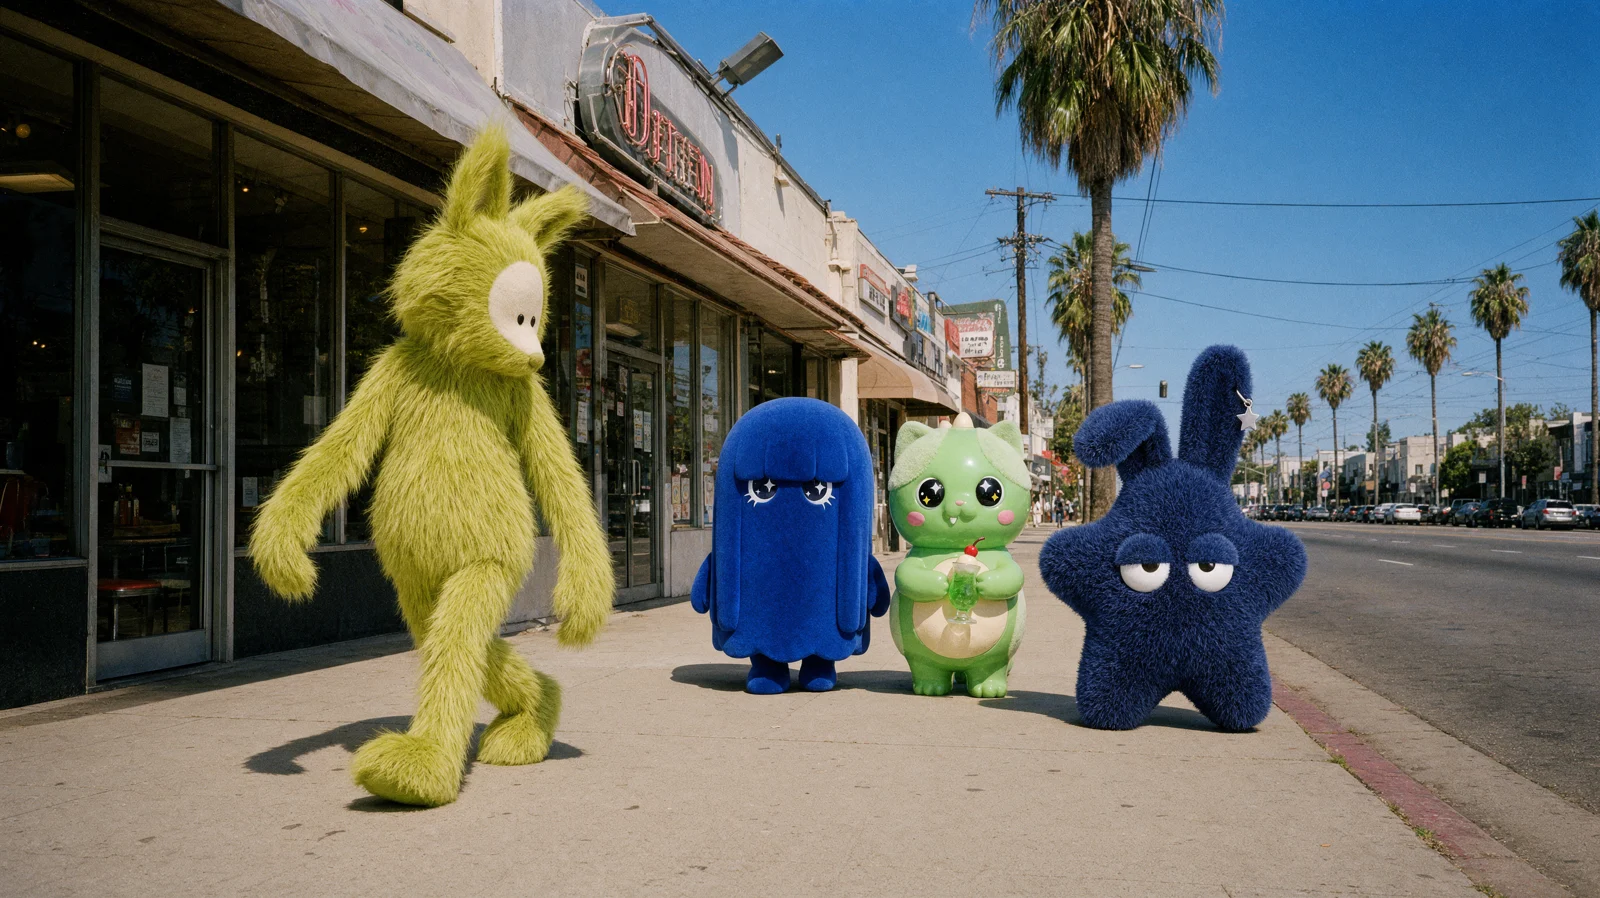
A reference sequence gives Krea 3 a consistent identity while the setting, wardrobe or lighting changes.
Separate identity from environment
Tell Krea 3 which facial features, silhouette or character markings define the subject. Then describe the new location and pose as a separate part of the brief. A consistent reference set is more useful than unrelated images with contradictory features.
Keep the composition deliberate
Decide whether the subject should fill the frame or leave space for a surrounding design. Give Krea 3 a camera height and a relationship to nearby objects. A portrait in a gallery, a street scene and a product interaction need different framing.
Use examples as editable drafts
The Krea 3 launch gallery includes character and product directions. Use this prompt prepares a draft and its paired references without submitting a generation. Adapt the brief to your own subject before Create. Reconstructed prompts are marked as such, and matching the visual task does not guarantee an identical image or exact character likeness.
Choose Krea 3 settings with a clear quote
Krea 3 requests use the same pricing engine in the workspace, backend and public pricing documentation.
Understand pixel based cost
The provider bills Krea 3 at $0.025 per megapixel, counting output and processed references. Here one megapixel is 1024 by 1024 pixels. Each reference is capped at the output area.
Account for reasoning and references
Low and Medium effort work in text and edit modes. High reasoning is edit-only and adds five billable megapixels to Krea 3 cost. The browser displays a conservative reference ceiling; the server validates image dimensions before reserving credits.
Choose a size for the destination
Square 1K output is 1024 by 1024 pixels, and square 2K is 2048 by 2048. Krea 3 derives other supported ratios within its pixel ceiling, rounding edges to multiples of sixteen. Larger dimensions increase cost. Choose the composition and aspect ratio deliberately, then inspect small text and details at the intended delivery size.

Example prompts
Krea 3 product scene
Keep the perfume bottle from image 1 unchanged, including the label, cap and frosted glass finish. Place it in a hand against a cobalt-blue sky with soft clouds, lit by natural afternoon sunlight. Use believable contact shadows and glass reflections.
Krea 3 interior material study
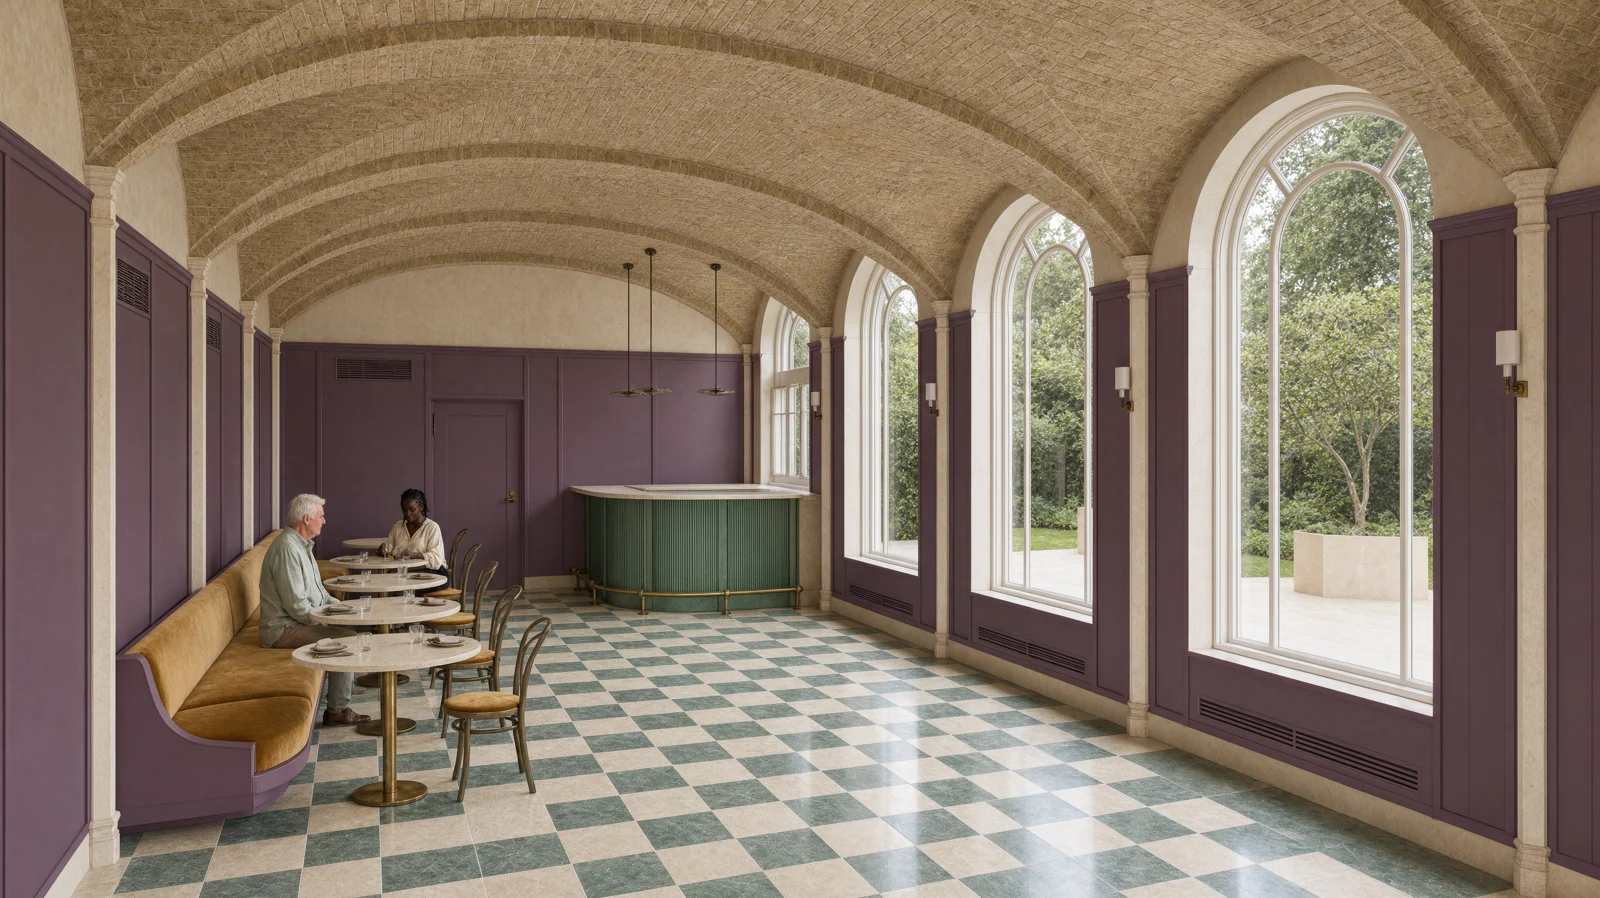
Use the room drawing as the composition reference. Preserve the camera, vaults and window geometry. Render aubergine wall panels, green stone floor, warm cream stone, buff brick vaults, ochre upholstery and aged brass. Create one architectural photograph with soft daylight.
User reviews
Krea3 video creator feedback.
Krea3 creator reviews

I made a full character PV for my game with MiniMax H3 in one afternoon. The menu UI stayed readable in every frame and the character never went off-model. That used to cost me a contractor and three weeks.

We tested every AI video generator on the market for stylized work. H3 is the only one that held our anime style across cuts. We now use it for pitch reels and animatics on every project.

I uploaded four product photos and got a listing video with music and a voiceover the same day. My click-through rate on the new listings is up 38%. H3 even got the label text on my packaging right.

I ship five vertical videos a week for three brands. MiniMax H3 gets me from brief to draft in under an hour, with sound already synced. My old workflow needed a videographer and two review rounds.

The editing side is what sold me. A client wanted the background of an interview changed — I typed one sentence into MiniMax H3 and the lighting on the subject matched the new scene automatically.

I previsualized my entire short film in MiniMax H3 before we shot a single frame. Rack focus, match cuts, even the title cards — it understands director language, not just keywords.
MiniMax H3 Max Pricing and Credit Plans
Cancel anytime
Lite
50% off0.025 / credit
Billed $ yearly179· Save $179.8
Video Models



Image Models



- Includes MiniMax H3 and all premium models
- Up to 1 batch generation task
- Standard generation speed
- Standard generation success rate
- Standard customer support
- Commercial Use License
Standard
50% off0.017 / credit
Billed $ yearly299· Save $299.8
Video Models
Image Models
- Includes MiniMax H3 and all premium models
- Up to 4 batch generation tasks
- Priority processing speed
- High generation success rate
- Priority customer support
- Commercial Use License
Pro
50% off0.014 / credit
Billed $ yearly599· Save $599.8
Video Models
Image Models
- Includes MiniMax H3 and all premium models
- Up to 10 batch generation tasks
- Fastest generation speed
- High generation success rate
- Dedicated account manager
- Commercial Use License
Max
50% off0.012 / credit
Billed $ yearly1,199· Save $1,199.8
Video Models
Image Models
- Includes MiniMax H3 and all premium models
- Up to 10 batch generation tasks
- Fastest generation speed
- High generation success rate
- Dedicated account manager
- Commercial Use License
Pay safely and securely with



















FAQ
Frequently asked questions
Is Krea 3 available for text and editing?
Yes. The workspace connects the fal text-to-image and edit endpoints. Berry and Jam support both modes, while High reasoning is available only for reference edits. Krea 3 currently produces one PNG per request. Choose the model and mode that match your actual task before preparing inputs.
How many images can guide Krea 3?
Krea 3 reference editing accepts one to eight images. Keep their order consistent with the instruction, identify each role and avoid conflicting artwork. The example cards load paired public references into a draft. You still review the prompt, settings and credit quote before choosing to generate.
How does Krea 3 credit pricing work?
Krea 3 output and reference pixels determine provider cost, with High reasoning adding five megapixels. The application converts cost at one cent per credit, rounds upward and applies a four-credit minimum. This calculation is separate from the purchase price of subscriptions and credit packs. The workspace displays the relevant quote.
Does Krea 3 guarantee unchanged product details?
No exact preservation guarantee is assumed. Tell Krea 3 which labels, shapes or identity features must remain, then inspect the finished output against the source. Launch examples illustrate creative possibilities. They do not replace checking an image before representing a real product, person or design in public.
What happens if a Krea 3 generation fails?
Credits are reserved while the provider processes the job and settled after confirmed completion. A confirmed failed generation releases or refunds its reserved credits. A pending or ambiguous job is not automatically treated as failure. Monetary refunds follow the separate refund policy, and download access keeps the site’s existing purchase requirements.
CTA
Start your next Krea 3 image
Bring a clear visual assignment, select Berry or Jam and check the quote. Prepare one image that answers the next decision in your project.
Open the Image Workspace